Guest Tutorial " How to make MDF Buildings" by Matt Owens-Smith Part 2 October 5, 2015 23:20
Good chum and expert modeller / painter Matt Owens-Smith posted this blog entry on his site www.wargamestableblogspot.co.uk
Once more, my thanks to Matt for giving permission to "pinch" wholesale. His step by step assembly and painting of the "Farmhouse" is well worth a read for modellers with any level of experience.
How to make MDF buildings - Part 2
This post is all about painting the recently constructed MDF building from Charlie Foxtrot Models to a decent gaming standard.
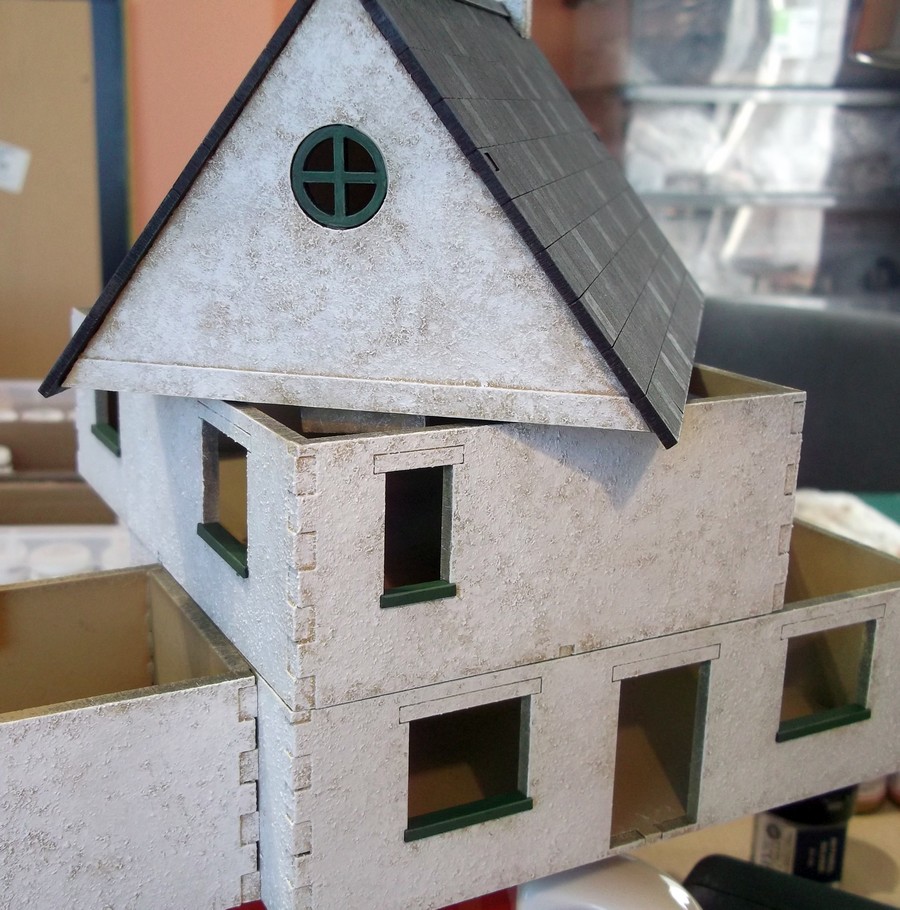
The building has been textured with a magnolia coloured masonry paint, then it's been lightly sprayed with Warlord Dunkelgelb, although any cream or light brown would suffice. You can see that the spray has speckled the roof but that's okay as it will need tidying up before it is painted anyway.
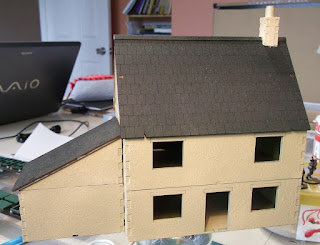
The first highlight has been applied using Foundry Base Sand shade 10A. It's been stippled on to the walls. (stipple = use a large, old brush and load with paint as if you were heavy dry-brushing, but instead of brushing, you tap the end of the brush on to the wall. If you're not sure then practice on a piece of card first.)
Next is VMC Dark Sand, again stippled to allow some of the colours beneath to show through - but only a little.

Finally I've applied white. Go easy here as white can be quite harsh; it's easy to add more if you prefer a lighter finish.

A close up of the white finish on the render (it's actually a little lighter for real!)

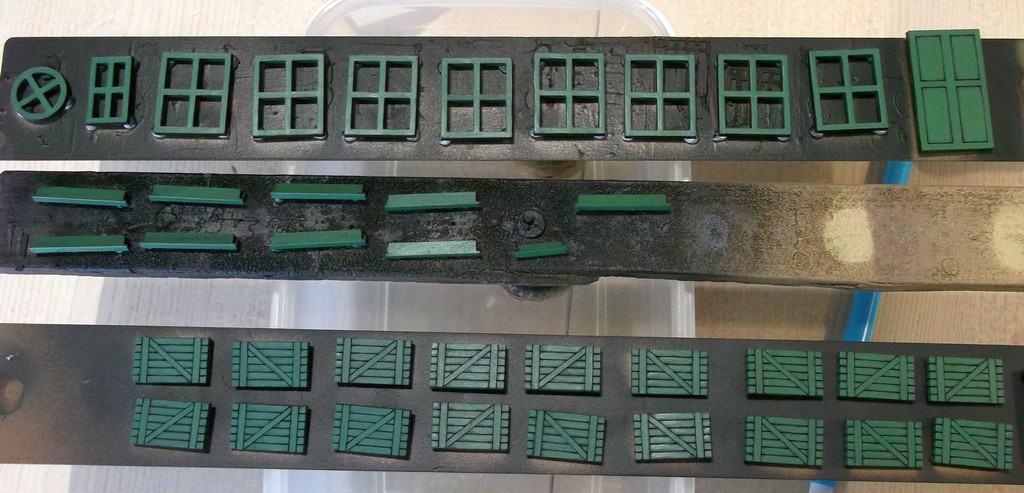
The doors, window frames and shutters are given a light dusting of black spray - just enough to prime the surface otherwise the 'raw' MDF really soaks up the paint. I use tiny dots of blu-tak to hold them in place.

A base coat of Foundry Forest Green shade 26A, followed by the Mid colour 26B.
Then a final highlight with Forest Green Light 26C.
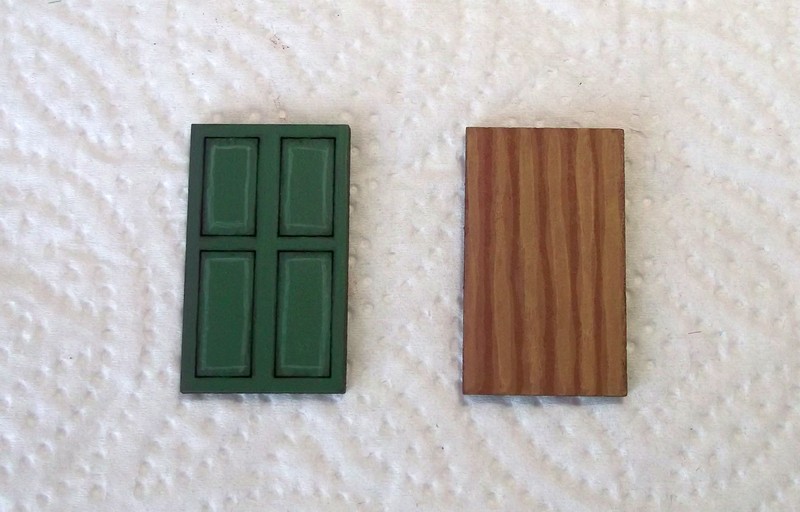
Now on to the doors - I've painted a series of fake panels or planks using the Foundry Spearshaft triad. The front door is painted in a similar style to the window frames and shutters
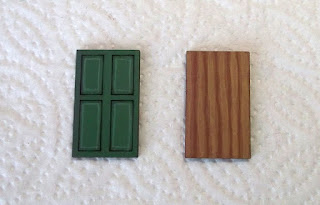
The back door (on the right) has a Z frame and again is painted using the Spearshaft triad.

The backs of the shutters will not be seen, whether the shutters are open or closed. The interior (i.e. the backs) of the window frames are given a basic mid brown colour.
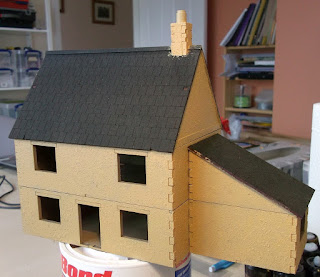
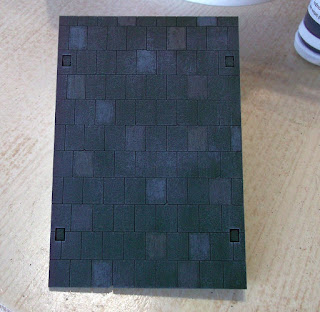
Now it's time to sort out the roof. There are various ways to paint the roof but here I present what I think is the quickest and easiest method for the standard MDF engraved tiles. Colin sells some brilliant tiling sheets in a variety of styles. Hopefully I'll do an example with some of those in the future.
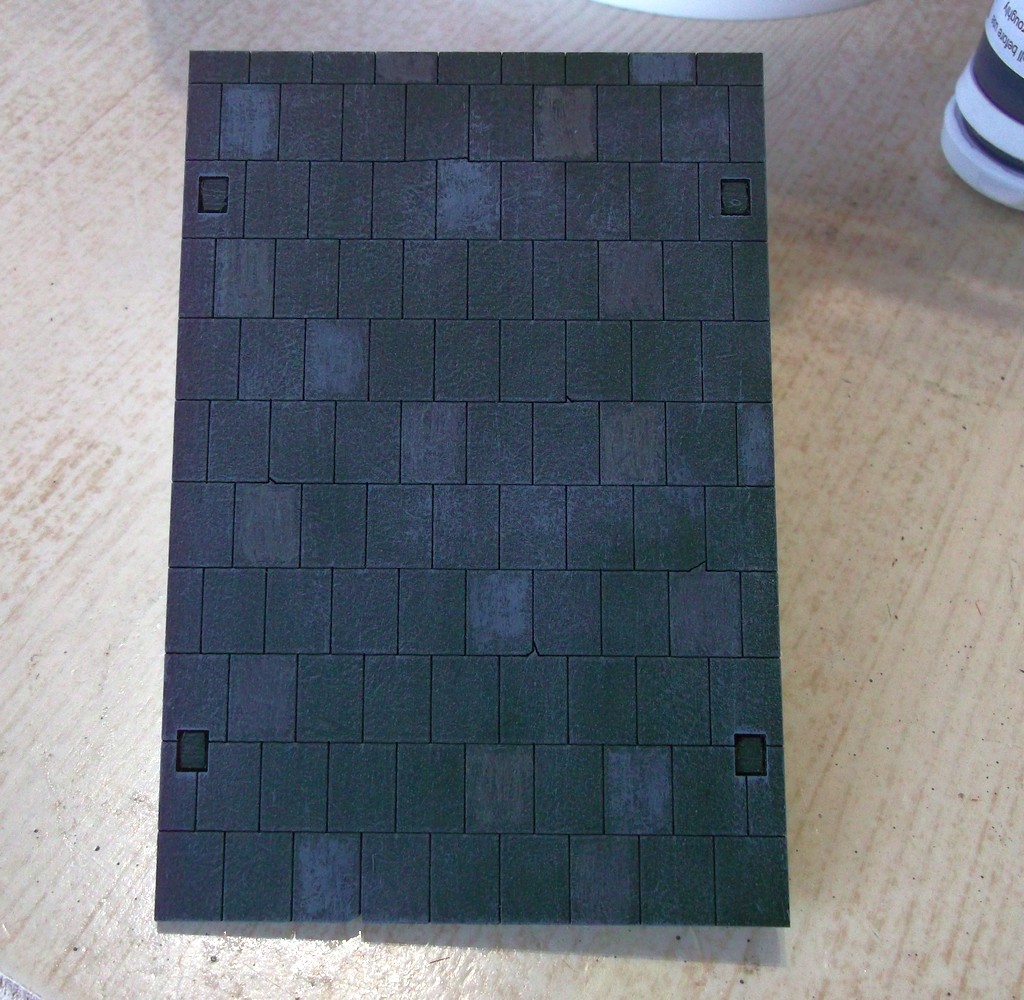
The main roof - re-touched (by brush) to remove the speckles of the base colours - ready for the tiling effect. The chimney pot is painted in Foundry Brick Red shade 59A.

Select two or three suitable tile colours, e.g. natural looking greys. I've chosen the shade colour for Foundry Slate Grey 32A, Stone 57A and Granite 31A. Now simply select a colour and lightly 'colour in' a selection of tiles across the roof, about a dozen tiles per side, per colour is fine. It's a bit like dry-brushing but keep the paint within the edges of each tile. Then repeat for each of the other tile colours. Remember to do a few short sections of the ridge too.

The final stage of tile painting is to take a mid grey colour, I used Foundry Slate Grey mid 32B, and very lightly (with a large, soft brush) apply a dry-brushed highlight to the entire roof. Do this VERY lightly as you can always apply a second or third highlight.

Here's the same effects applied to the smaller extension roof.
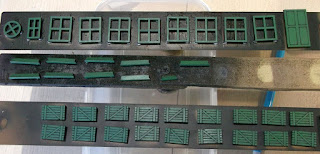
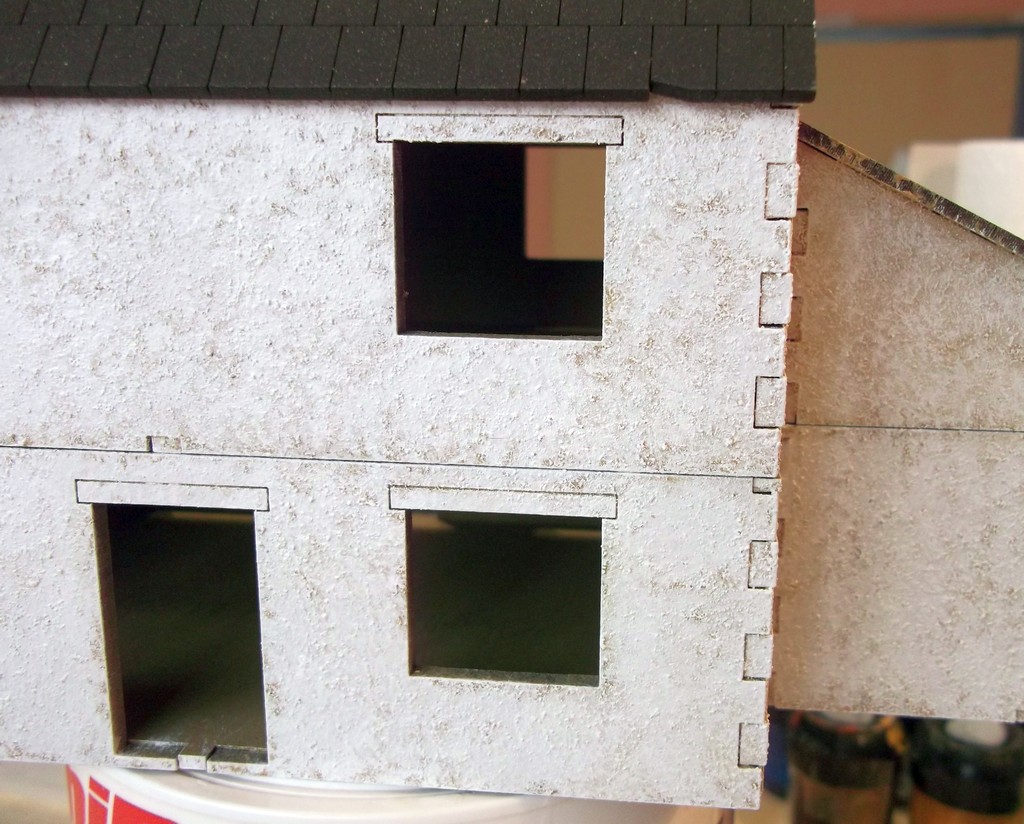
That's the painting pretty much complete for the basic model. Next is the final assembly. The pic below shows the window sills, and the loft window, glued in position (only some of the CFM range come with two part window frames). Let these dry fully before continuing.

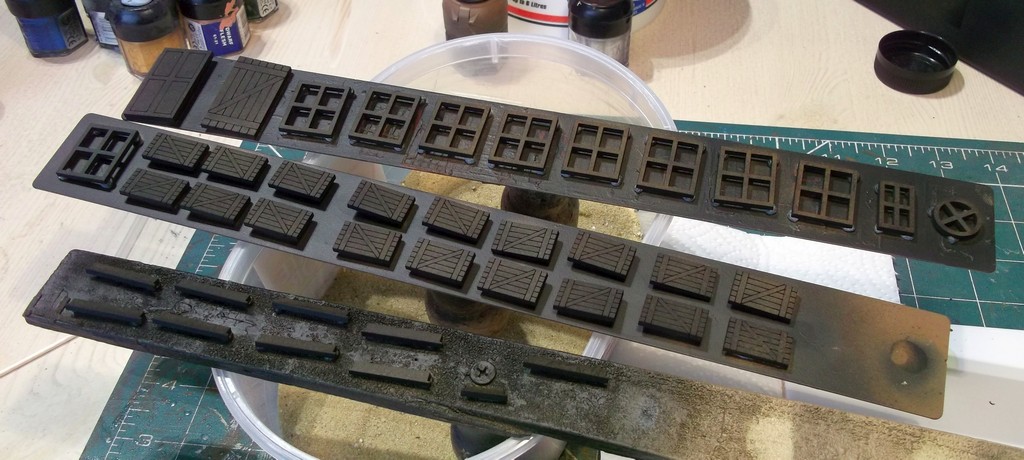
Next glue in the frames, then glue the shutters around the windows.
Some Window Tips


Some more tips
Again, hope that's useful.
The building has been textured with a magnolia coloured masonry paint, then it's been lightly sprayed with Warlord Dunkelgelb, although any cream or light brown would suffice. You can see that the spray has speckled the roof but that's okay as it will need tidying up before it is painted anyway.

The first highlight has been applied using Foundry Base Sand shade 10A. It's been stippled on to the walls. (stipple = use a large, old brush and load with paint as if you were heavy dry-brushing, but instead of brushing, you tap the end of the brush on to the wall. If you're not sure then practice on a piece of card first.)

Next is VMC Dark Sand, again stippled to allow some of the colours beneath to show through - but only a little.

Finally I've applied white. Go easy here as white can be quite harsh; it's easy to add more if you prefer a lighter finish.

A close up of the white finish on the render (it's actually a little lighter for real!)
The doors, window frames and shutters are given a light dusting of black spray - just enough to prime the surface otherwise the 'raw' MDF really soaks up the paint. I use tiny dots of blu-tak to hold them in place.
A base coat of Foundry Forest Green shade 26A, followed by the Mid colour 26B.
Then a final highlight with Forest Green Light 26C.

Now on to the doors - I've painted a series of fake panels or planks using the Foundry Spearshaft triad. The front door is painted in a similar style to the window frames and shutters
The back door (on the right) has a Z frame and again is painted using the Spearshaft triad.

The backs of the shutters will not be seen, whether the shutters are open or closed. The interior (i.e. the backs) of the window frames are given a basic mid brown colour.
Now it's time to sort out the roof. There are various ways to paint the roof but here I present what I think is the quickest and easiest method for the standard MDF engraved tiles. Colin sells some brilliant tiling sheets in a variety of styles. Hopefully I'll do an example with some of those in the future.
The main roof - re-touched (by brush) to remove the speckles of the base colours - ready for the tiling effect. The chimney pot is painted in Foundry Brick Red shade 59A.

Select two or three suitable tile colours, e.g. natural looking greys. I've chosen the shade colour for Foundry Slate Grey 32A, Stone 57A and Granite 31A. Now simply select a colour and lightly 'colour in' a selection of tiles across the roof, about a dozen tiles per side, per colour is fine. It's a bit like dry-brushing but keep the paint within the edges of each tile. Then repeat for each of the other tile colours. Remember to do a few short sections of the ridge too.

The final stage of tile painting is to take a mid grey colour, I used Foundry Slate Grey mid 32B, and very lightly (with a large, soft brush) apply a dry-brushed highlight to the entire roof. Do this VERY lightly as you can always apply a second or third highlight.
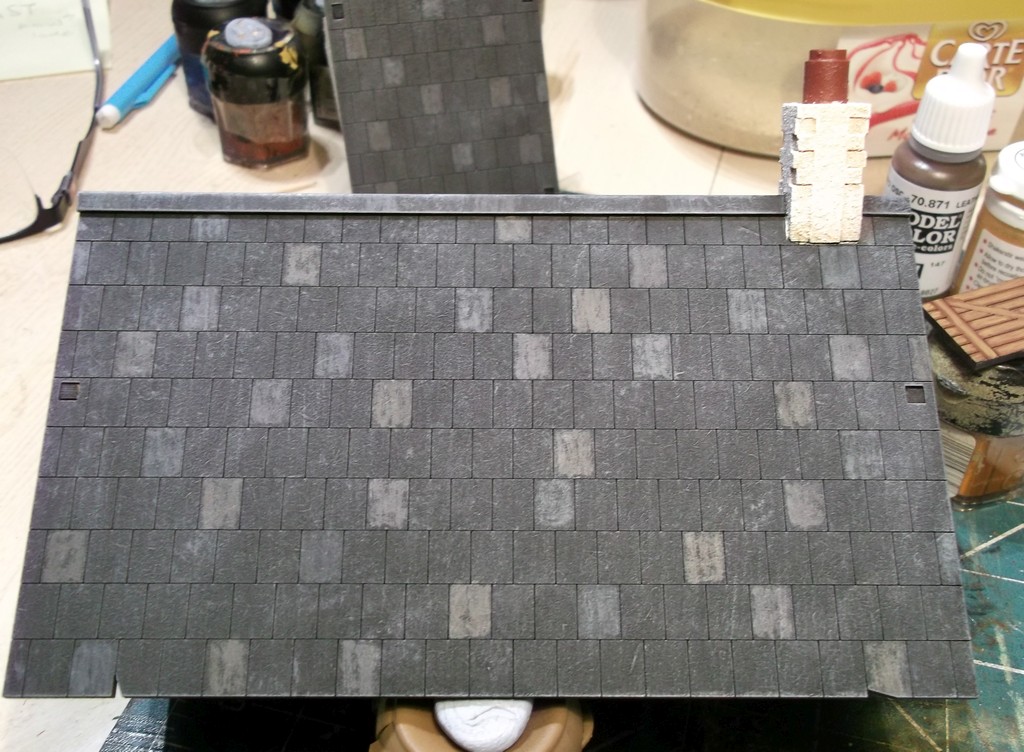
Here's the same effects applied to the smaller extension roof.
That's the painting pretty much complete for the basic model. Next is the final assembly. The pic below shows the window sills, and the loft window, glued in position (only some of the CFM range come with two part window frames). Let these dry fully before continuing.
Next glue in the frames, then glue the shutters around the windows.
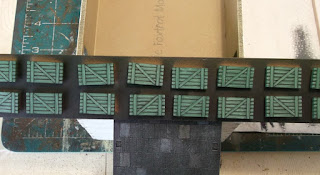
Some Window Tips
- Make sure you use a glue that dries completely clear as it's bound to leak a little around the frame edges.
- Always dry fit the window frames before applying the glue just to make sure they fit properly. If not then trim the frame or aperture with a modelling knife.
- Apply a small 'bead' of glue to the inside of the window aperture on the building, then let it go slightly tacky as that improves it's 'grab' ability. This means the window won't fall out when you let go!?
- Shutters - the kit will have enough left and right shutters - make sure you fit them in matching pairs!


Some more tips
- Consider using DIY/hardware store paint tester pots as base coats for walls - much cheaper than Foundry, VMC, etc.
- When applying the highlights go easy as you can always apply more paint but it's jolly tricky to remove it.
Again, hope that's useful.